If you regularly watch video content, you’ll know all too well about the pains associated with poor sound quality. And in some cases, you may also have issues with your hearing or encounter problems with consuming content in a language you don’t understand.
Sometimes, you’ll have to focus on creating subtitles because you don’t have any available. But while this seems daunting, don’t worry; it’s much easier than you think.
Today, you’ll learn what an SRT (SubRip Subtitles) file is and how to create and use it.
What is an SRT File?
An SRT is a plain-text file format used to store video subtitles and captions. You’ll typically see numbered subtitle blocks with timecodes, which show when text should appear and disappear.
SRT files are identifiable by the “.srt” extension at the end of their filenames, and they’re important for syncing subtitles with videos.
Key Components of an SRT File
- A Sequential Number Order: When you make an SRT file for video content, you’ll always see a counter stating in which order your subtitles should go.
- Timestamps: Each subtitle sequence has timestamps determining which parts of the video they’re valid for. These are always outlined in this format: hours:minutes:seconds,milliseconds. When you create your SRT caption file, make sure that you pay attention to these.
- Subtitle Text: it’s the text you see in your subtitles. These can cover multiple lines, and it will depend largely on the scene in the video.
- Blank Line: Once a certain subtitle sequence is over, you’ll see a black line to confirm this.
You should consider creating an SRT file if you have hearing difficulties or if you enjoy watching movies and TV shows in a language that you don’t understand. In some cases, you may find yourself in places with significant background noise. In these instances, you’ll benefit from having subtitles at hand.
There are several SRT file maker tools, and because they’re in a plain-text format, you shouldn’t have too many difficulties editing them. You can use TextEdit for creation, and Notepad is another popular option.
How to Make an SRT file: Step-By-Step Guide
Let’s now dive into the process of the SRT file creation using the TextEdit app which is a default one for Mac users. Follow the steps listed below to make your own .srt file for subtitles:
Step 1: Open TextEdit
Open TextEdit on your device. The easiest way to find it is by going to Spotlight and searching. Once you’re there, create a new document for your subtitles.
Step 2: Set to Plain Text
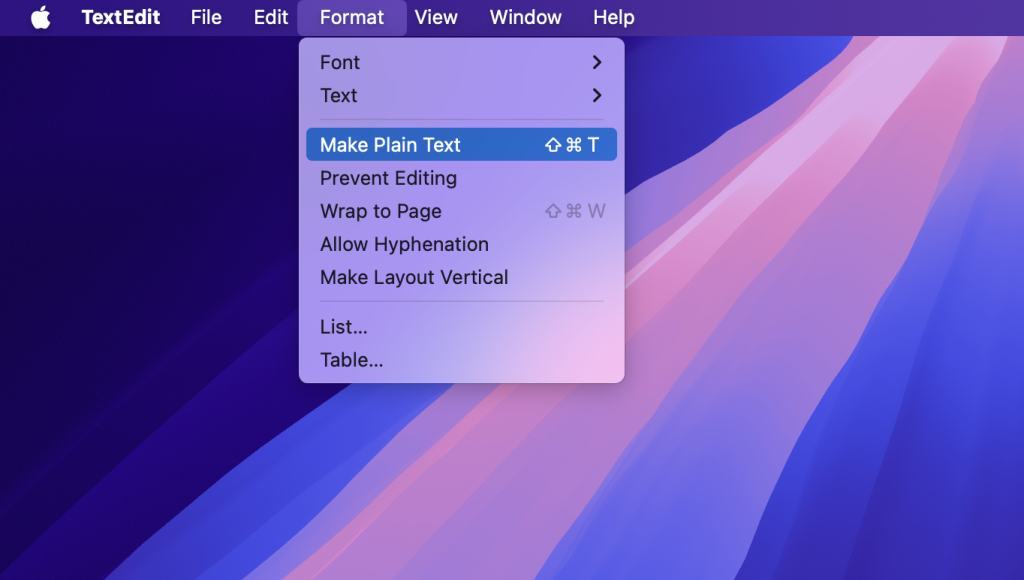
Navigate to the Format option in your toolbar at the top. To use TextEdit as an SRT file creator, you’ll need to click on Make Plain Text. By doing this, you’ll remove all formatting, which is important.
Step 3: Start with the First Subtitle Entry
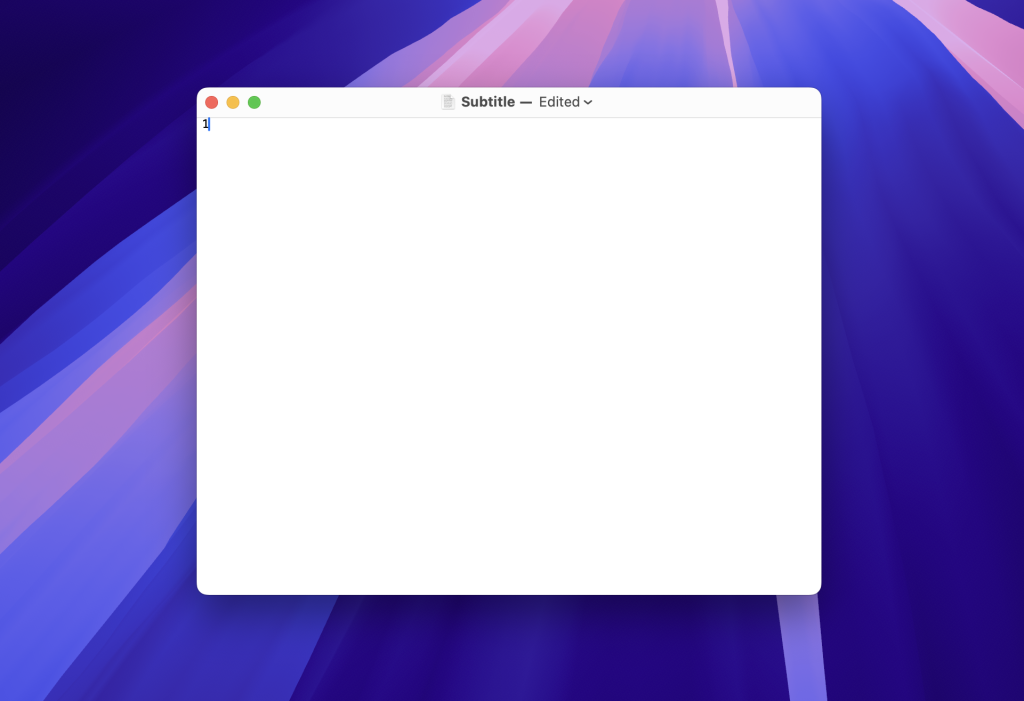
On the first line, type the number 1 on your keyboard. This will signal the first sequence for your subtitles. Once you’ve done this, hit the Enter key.
Step 4: Add Time Codes
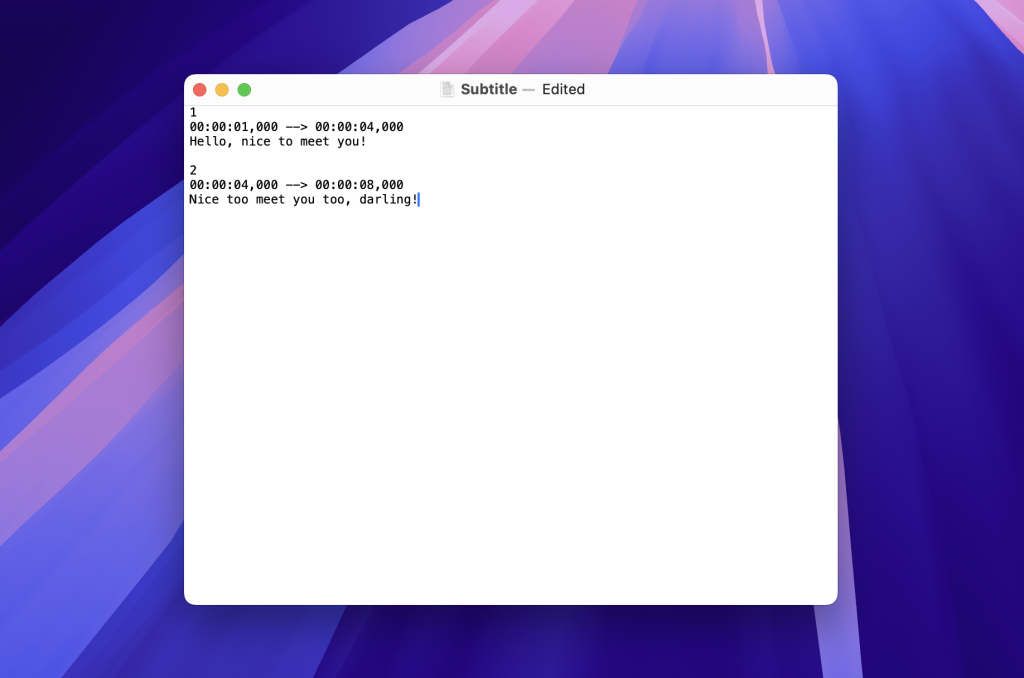
When making an SRT file, you’ll need to use a specific format for everything to work as it should. Entering the start and finish time is particularly important, and you should do it like this:
hours:minutes:seconds,milliseconds –> hours:minutes:seconds,milliseconds
text
An example would be…
00:00:01,000 –> 00:00:04,000
text
Step 5: Enter Subtitle Text
Type the text for your subtitles after hitting the Enter key to create a new line. When doing so, it’s important that you can read it within your time frames. Make the text as short as possible.
Step 6: Separate Each Subtitle
You should always add blank lines at the end of your subtitles when you make an SRT file. Doing so is vital for ensuring that you don’t get confused.
Step 7: Repeat for Additional Subtitles
Depending on the video length, you may need to add more or fewer subtitles. Repeat Steps 4 and 5 until you’ve added these for all of your content.
Step 8: Save Your File
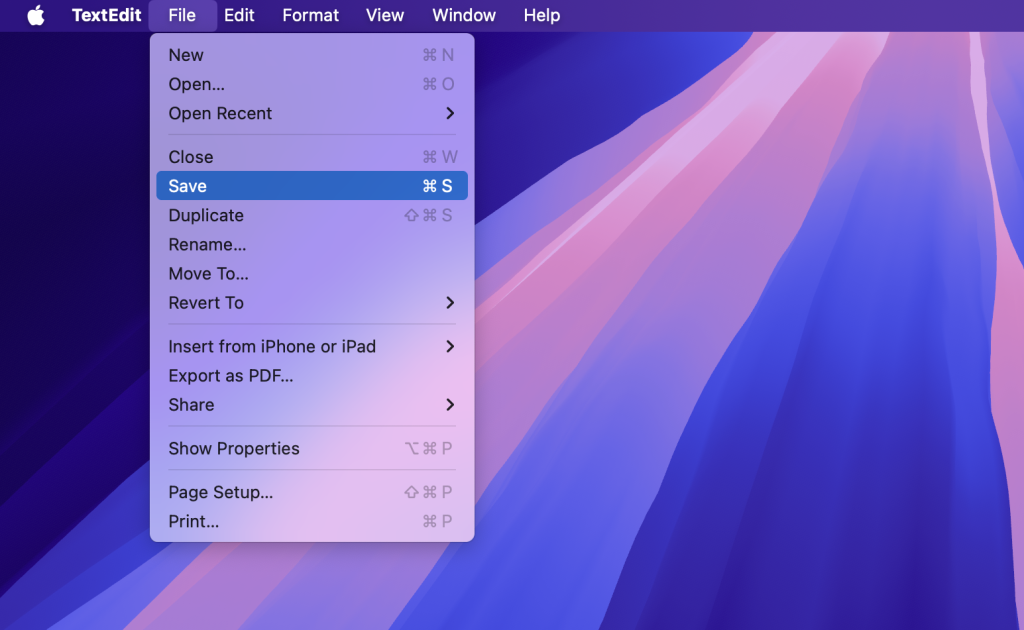
You’ll then need to export your text to add it to your videos. After completing the subtitle process, navigate to File > Save at the top of your screen.
You will have to give your SRT a name. Ideally, it should feature the name of your video followed by subtitles (i.e. video_name_subtitles.srt).
If any options use .txt as their default or hide extensions, untick these.
Step 9: Test Your SRT File
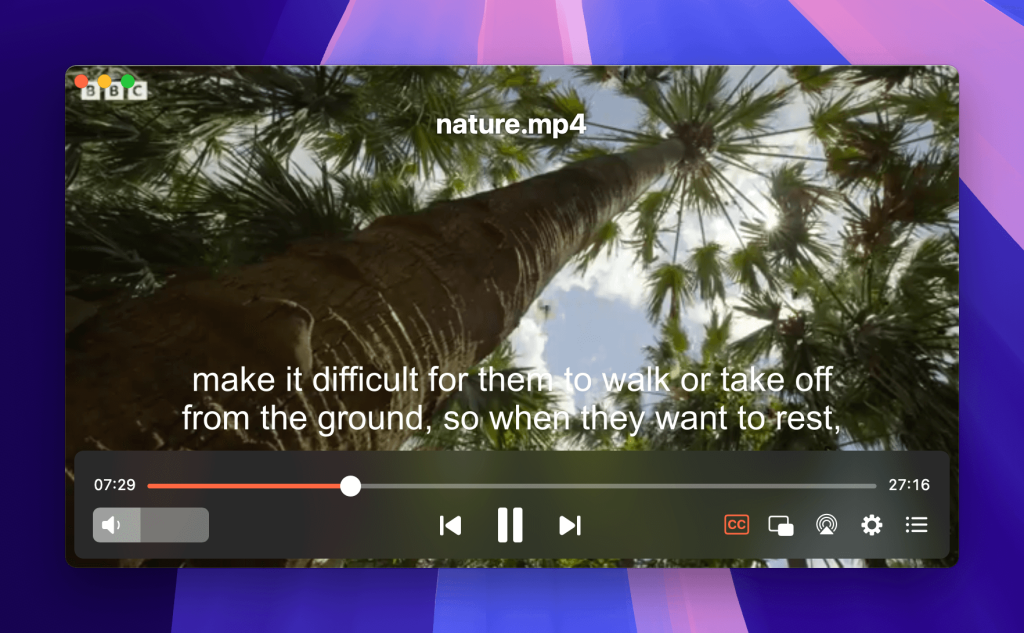
Open your preferred video player (e.g. Elmedia Player). Load your video and the SRT file simultaneously. Look for your synchronization and identify potential pitfalls, fixing these when required.
Example of an SRT File Structure
An SRT file might look similar to this:
text
1
00:00:01,000 –> 00:00:04,000
Welcome to our video!
2
00:00:05,000 –> 00:00:09,000
Today we will learn how to create SRT files.
Play Videos with SRT Subtitles on Mac | Elmedia Player
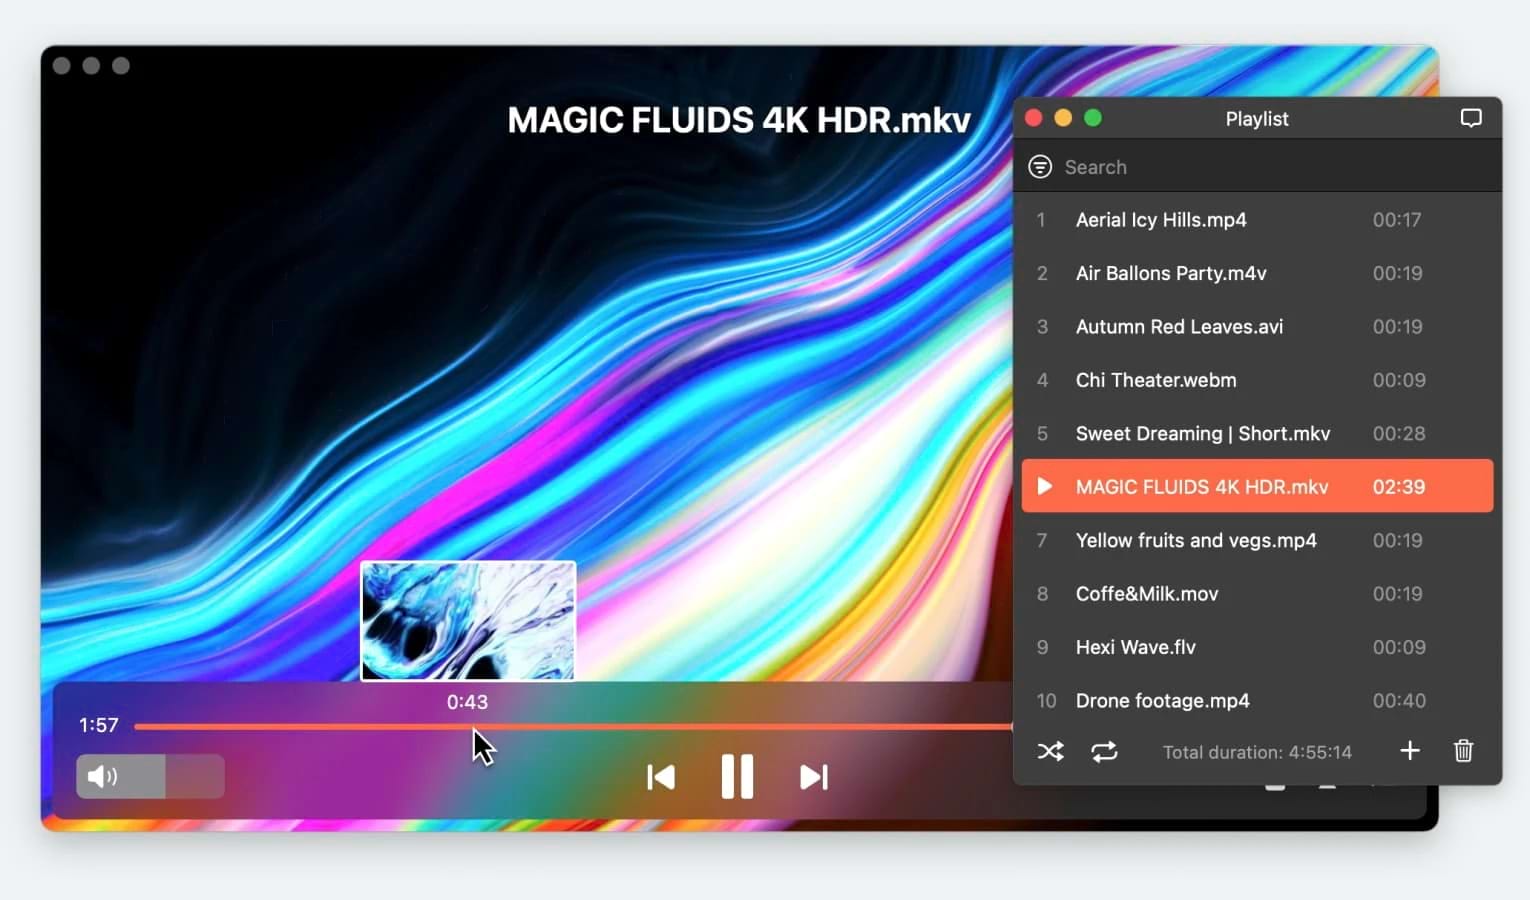
Elmedia lets you watch videos with subtitles in multiple languages and on all video formats. The software automatically detects subtitles in your videos; if this isn’t possible for some reason, you can manually encode.
It’s also possible to use Elmedia and search for subtitles online. So, if you couldn’t create an SRT subtitle file for some reason, this is another option. All of this works via OnlineSubtitles.com.
While SRT is the easiest format, and you should have no trouble opening an SRT file on Mac, you can use Elmedia with numerous other ones. These include: idx, utf, smi, smil, vtt, webvtt, jss, txt, sub, ssa.
Conclusion
Adding subtitles can seem daunting, but it shouldn’t take you too long. You can do so on your Mac with no problems; all you have to do is open TextEditor and craft your subtitles as we’ve shown you in this guide. Once you’ve done that, you should have no problems synchronizing your SubRip (.srt) files with movies and other forms of video.

